- Home page
- Modeling
- Molding & Casting
- Tin Silicones
- Platinum Silicones
- Dragon Skin Series
- Ecoflex Series
- Equinox Series
- Mold Star Series
- Rebound Series
- Smooth-Sil Series
- SORTA-Clear Series
- Body Double Series
- Psycho Paint
- Platsil Gel & Deadener
- Rubber Glass
- Encapso® K
- Solaris
- Soma Foama
- EZ-Brush Vac Bag Silicone
- EZ-Spray Platinum Silicones
- Silicone Additives
- PU-Rubbers
- Alginate
- PU-Resins
- PU Foam
- Epoxy Resins
- Polyester Resins
- Gypsum & Cement
- Latex
- Mask Making Latex
- Mold Making Latex
- FormX Elastica Latex Rubber
- Monstermakers Foam Latex
- Monstermakers Mask making latex RD-407
- Monstermakers additives & Components
- Holden's Coating/Dipping Latex
- Holden's Body Latex - Brushable
- Holden's Mold Making Latex HX-80
- Holden's Mold Making Latex High Viscosity HX-974
- Holden's Mask Making Latex - Pourable HX-407
- Holden's Mask Making Latex - Brushable HX-807
- Holden's Cosmetic Latex
- Holden's Frisket Mask Latex
- Holden's HX-Injection Medium
- Latex Accessories
- Latex Pigments
- Latex Paint
- Latex Thickener
- AcrylCast
- Prince August
- Concrete Mixtures
- Jesmonite Acryl System
- Buddy Rhodes Concrete Products
- Seal and Release
- Additives
- Pigments
- Jesmonite liquid Pigments
- Pure Pigments powder
- Ultra Fine Pigments powder
- Silc Pig pigments for silicone
- Glow Worm Fluorescent Pigments
- Cryptolyte Glow in the Dark
- Silicone Pigments - SilcPig Electric fluorescent
- Siltone Pigment for Silicone
- SilTone Kits
- Silicone Coloring System - FuseFX
- Silicone Coloring System S.A.M
- Key Pigments for silicone
- Kryolan Flock Fiber
- Latex Pigments
- Polyester Pigment
- UVO- PU-pigments - UV-Resistant
- SO-Strong - PU-pigments
- Ignite fluorescent PU-pigments
- Epoxy pigments - EPTone
- Real Metal Powders
- Faux Metal Powders
- Cast Magic Powders
- Paints
- Fillers and Finishing
- Solvents & Thinners
- Adhesives
- Tools
- Equipment
- Special Make-Up
- Cannom Grease Paint
- Skin Illustrator Palettes
- Skin Illustrator Liquid
- Fleshtone 60ml
- Fleshtone 120ml
- Dark Fleshtone 60ml
- Dark Fleshtone 120ml
- FX 60ml
- FX 120ml
- FX 240ml
- Complexion 60 ml
- Complexion 120ml
- Alchemy 60ml
- Alchemy 120ml
- Grunge 60ml
- Grunge 120ml
- Grunge 240ml
- Mardi Gras Liquids 60ml
- Mardi Gras Liquids 120ml
- Necromania 60ml
- Mekash Colors 60ml
- Clear Gloss 60ml & 120ml
- Glo-Worm 60ml & 120ml
- Tattoo Classic 60ml & 120ml
- Alphabetical all
- Skin Illustrator Concentrates
- Skin Illustrator Singles
- Skin Illustrator Glazing Gels
- Skin Illustrator Glazing Spray
- Skin Illustrator Mouth FX
- Allied FX (Blue Bird)
- RipperFX Palettes
- Stacolor Palettes
- PAX Paints Thomas Suprenant
- MaqPro Farde Palettes
- MaqPro Make-Up Mixer
- MaqPro Creamy
- MaqPro Bruise Gel
- Old Age Stipple
- Holden's Cosmetic Latex
- Tattoo Sheets
- Brushes Make-Up
- Stamps & Molds
- Sponges and Applicators
- Head Armatures
- FormX Tools
- Kryolan Make-Up
- Special effects
- Prostetic Materials
- Help me choose
- Literature
- FormX Academy
Tarbender
Buy Smooth-On at FormX
Smooth-On is one of the worlds leading manufaturers 3D modeling materials such as mold-making, casting and special effects materials but also industrial casting resins, adhesives and equipment. FormX is main distributor of Smooth-On products in Europe.
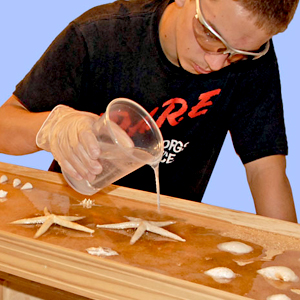
Tarbender™ is a clear liquid epoxy that can be poured or brushed over a variety of surfaces to provide a strong, high gloss coating. Parts A and B mix together and flow easily. Tarbender™ epoxy cures at room temperature and offers high impact resistance. It can be applied over wood, plaster, concrete, foam, fabrics, paper, etc. can be used to encapsulate 2-D or 3-D objects. Tarbender™ is certified “aquarium safe” and used by aquariums to create hyperrealistic coral and other aquarium displays. It is also used by zoos around the world as a coating for themed elements and displays.
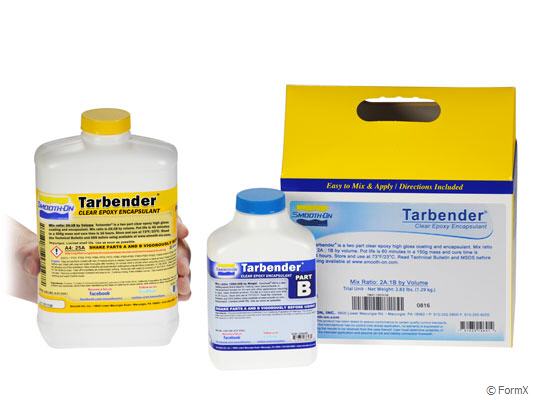
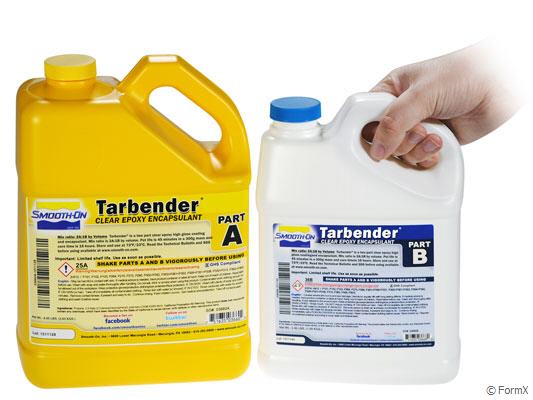
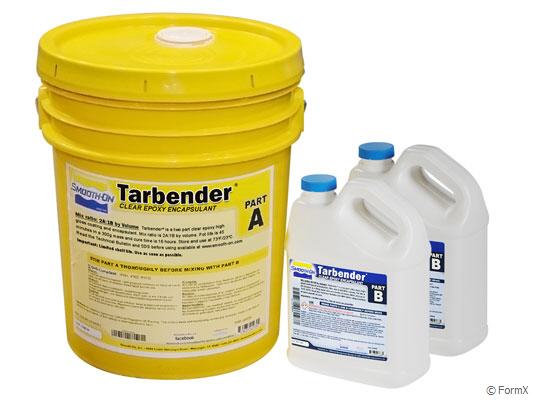
Mix ratio is 2A to 1B by volume or 100A:41B by weight. Pot life is 60 minutes, overnight cure, hardness 75D. Color: Clear
Tarbender
Tarbender Safety Data
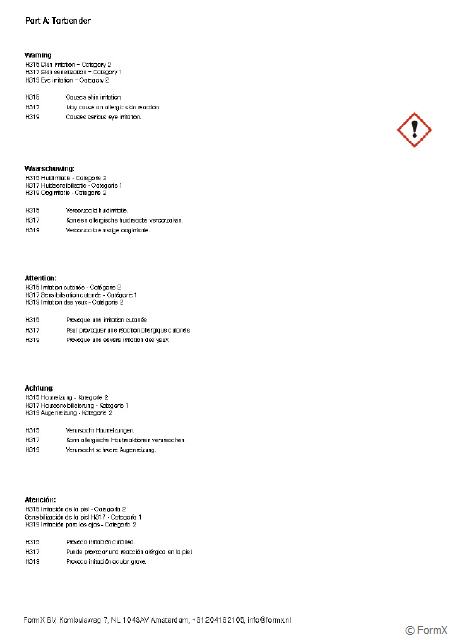
Product and Work Area Preparation – Tarbender™ containers should be stored and used at room temperature 23° C. Wear long sleeve garments, disposable gloves and safety glasses. Mixing containers should have straight sides and a flat bottom. Mixing sticks should be flat and stiff with defined edges for scraping the sides and bottom of your mixing container. Have all materials and tools on site before you begin.
Mixing containers should be made of plastic, metal or wax coated paper. Due to very high temperature potential (exotherm) of Tarbender™, do not use glass or foam containers.
Ventilation – Use only in a well ventilated area and avoid breathing fumes. Wearing a NIOSH approved respirator is recommended.
Mixing – Mix using a flat edge mixing stick for 2 minutes. Scrape the sides and bottom of the mixing container with the edge several times. Pour contents into a new, clean mixing container and mix again for 2 minutes. If using a drill mixer, use a variable speed mixer set to low rpm and mix for 2 minutes. Creating a vortex will introduce air. Follow with hand mixing for 2 minutes. A large mass concentration of epoxy will reduce pot life and may become too hot to handle. If concentrated mass of epoxy begins to get very hot, move outside to open air. To extend working time, reduce mass by pouring mixture into a flat baking pan and pour onto bar top from there.
Pre-Mixing – Stir or shake Part A and Part B thoroughly before dispensing.
Measuring – Accurately measure 2A:1B by volume into a plastic, metal or wax-free mixing container.
Pouring Tarbender™ To Coat Flat Surfaces
Usage Overview – Most bar tops, tabletops and other flat surfaces require 2 – 3 layers of Tarbender™ with a 4-hour cure time in between layers. You can apply as many 6.4mm layers as needed.
Estimating Coverage – How Much Will You Need? you can correlate the square cm area of your surface with the yield of mixed Tarbender™.
Tarbender™ Coverage Rates
Amount Poured at 1/16”(1.6mm) Poured at 1/8” (3.2mm) Poured at 1/4” (6.4mm)
1 oz. / 28.3 grams 25.4 in⊃2; / 164 cm⊃2; 12.7 in⊃2; / 82 cm⊃2; 6.4 in⊃2; / 41 cm⊃2;
Trial Unit (2.83 lbs. /1.28 kg) 8 ft⊃2; / 0.74 m⊃2; 4 ft⊃2; / 0.37 m⊃2; 2 ft⊃2; / 0.19 m⊃2;
Gallon Unit (11.2 lbs. /5.08 kg) 32 ft⊃2; / 2.97 m⊃2; 16 ft⊃2; / 1.48 m⊃2; 8 ft⊃2; / 0.74 m⊃2;
5 Gallon Unit (56.5 lbs. / 25.62 kg) 160 ft⊃2; / 15 m⊃2; 80 ft⊃2; / 7.5 m⊃2; 40 ft⊃2; / 3.75 m⊃2;
Surface Preparation – Surface to be coated with liquid epoxy should be level in all directions. Surface must be free of dust, oils or other contaminants. Tarbender™ should not be used on surfaces coated with oil-based stain, as it will delaminate. Water based stains are compatible.
Sealing Porous Surfaces – unfinished wood surfaces, stone, marble, concrete, etc. should be sealed with a thin layer of Tarbender™. See “Pouring and Spreading Tarbender™ section below.
Do Not Vacuum – Subjecting mixture to vacuum will introduce air.
Pouring Tarbender™ - After mixing, pour a thin stream along the entire length of the surface. Do not exceed 1.6 mm for this layer. Your goal is to obtain an even coating.
Let Tarbender™ cure for 4 hours before applying another layer.
Note do not exceed 6.4 mm thickness per pour. If greater thicknesses are desired, pour in layers of 6.4 mm with 4 hours minimum between layers.
For coating bar tops, a minimum thickness of 3.2 mm or two layers is recommended.
Non-Porous Surfaces do not require a sealing coat. Mix and pour Tarbender™ as directed to 6.4 mm thickness. Look for bubbles and lightly pass propane torch over surface to dissipate. Let cure for 4 hours.
Dissipating Bubbles from Surface Using a Propane Torch - After Tarbender™ is poured, pass a propane torch (available at any hardware or DIY store) back and forth lightly over surface to dissipate bubbles. Be careful when handling the torch and do not get closer to the surface than 7.62 cm. If pouring multiple layers, use a propane torch to dissipate bubbles after pouring each layer.
If Encapsulating 3-D Objects – Apply a 1.6 mm coating to bar top as directed above. Dissipate bubbles with torch. Let cure for 4 hours. Place objects on top of cured layer. Mix a small amount of Tarbender™ and pour directly over and around objects to break surface tension.
If Encapsulating Paper, Cardboard, etc. – Laminate paper before encapsulating. You can also seal surface with white glue (such as Elmer’s Glue) mixed 4 parts glue to 1 part water). Allow to dry for 16 hours before encapsulating in Tarbender™.
Brushing Tarbender™ Onto Surfaces
Apply In Thin Layers - two thin layers of Tarbender™ are recommended for a smooth, uniform coating. Using chip brush, apply 1st thin layer to surface and let epoxy partially cure until “tacky hard”. Apply 2nd thin layer. Allow both layers to fully cure.
Adding Color – You can add SO-Strong™, UVO™ or IGNITE™ color tints. Pre-mix color tint into Tarbender™ Part A thoroughly and then add Part B.
Adding New to Old - If too much time passes (72 hours or more) between applying layers of Tarbender™, delaminating may occur if you try to add more. For Best Results; lightly sand cured epoxy surface with 220 grit sand paper and wipe clean with denatured alcohol before mixing and applying new Tarbender™.
Releasing Tarbender™ From Surfaces – if you do not want Tarbender™ to adhere to a surface, apply two coats of Sonite Wax. Allow wax to dry 1 hour and buff before pouring epoxy.
Clean Up – 90% Isopropyl Alcohol will remove uncured Tarbender™ from most surfaces. It can also be used to clean the surface of cured Tarbender™ epoxy. Alcohol is flammable. Follow all safety precautions for handling flammable liquids and provide adequate ventilation.